I was finally able to get the tins on the Turbo Warrior painted. Since the Warrior is classified as a muscle cruiser I wanted to go for a classic muscle car, hot rod type of scheme. I also didn’t want to take away from the Earl fitting accents of blue and red, the painted calipers, or the dyna coils. I thought that too much color would detract from all of that. “Subtle bling” as I like to call it. More pics and videos to come after I get them back on the bike.
\m/
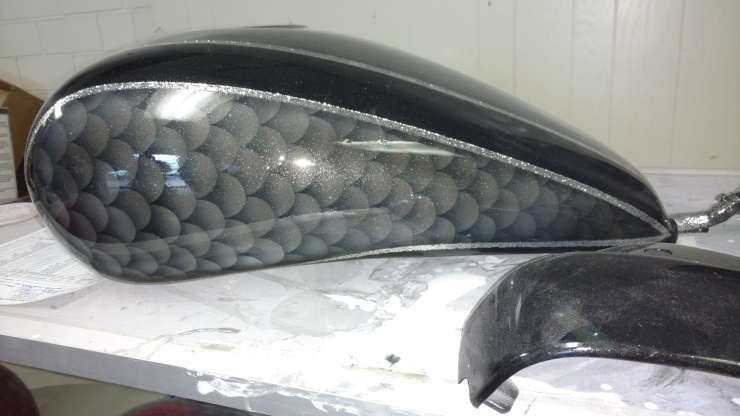
Love the way the fish scales came out. Gonna look awesome in the sun!
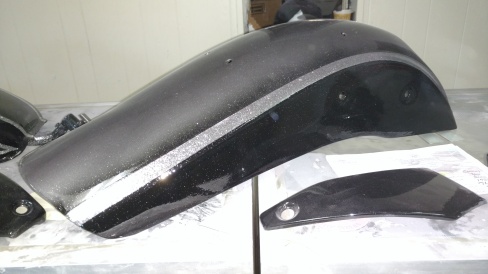
Love the metal flake. Gonna look awesome in the sun!
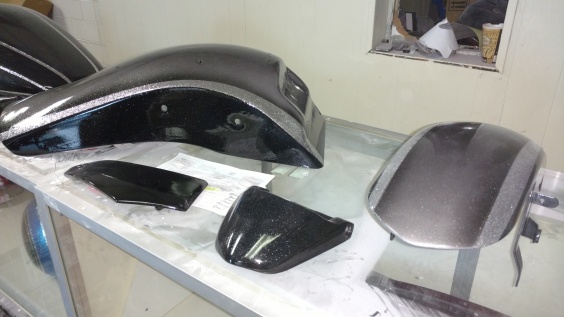
Love the metal flake. Pretty sure they’ll see me coming! Gonna look awesome in the sun!
Video of the new paint!
https://youtu.be/BdAI4HRjI1I