Wiring Clean Up

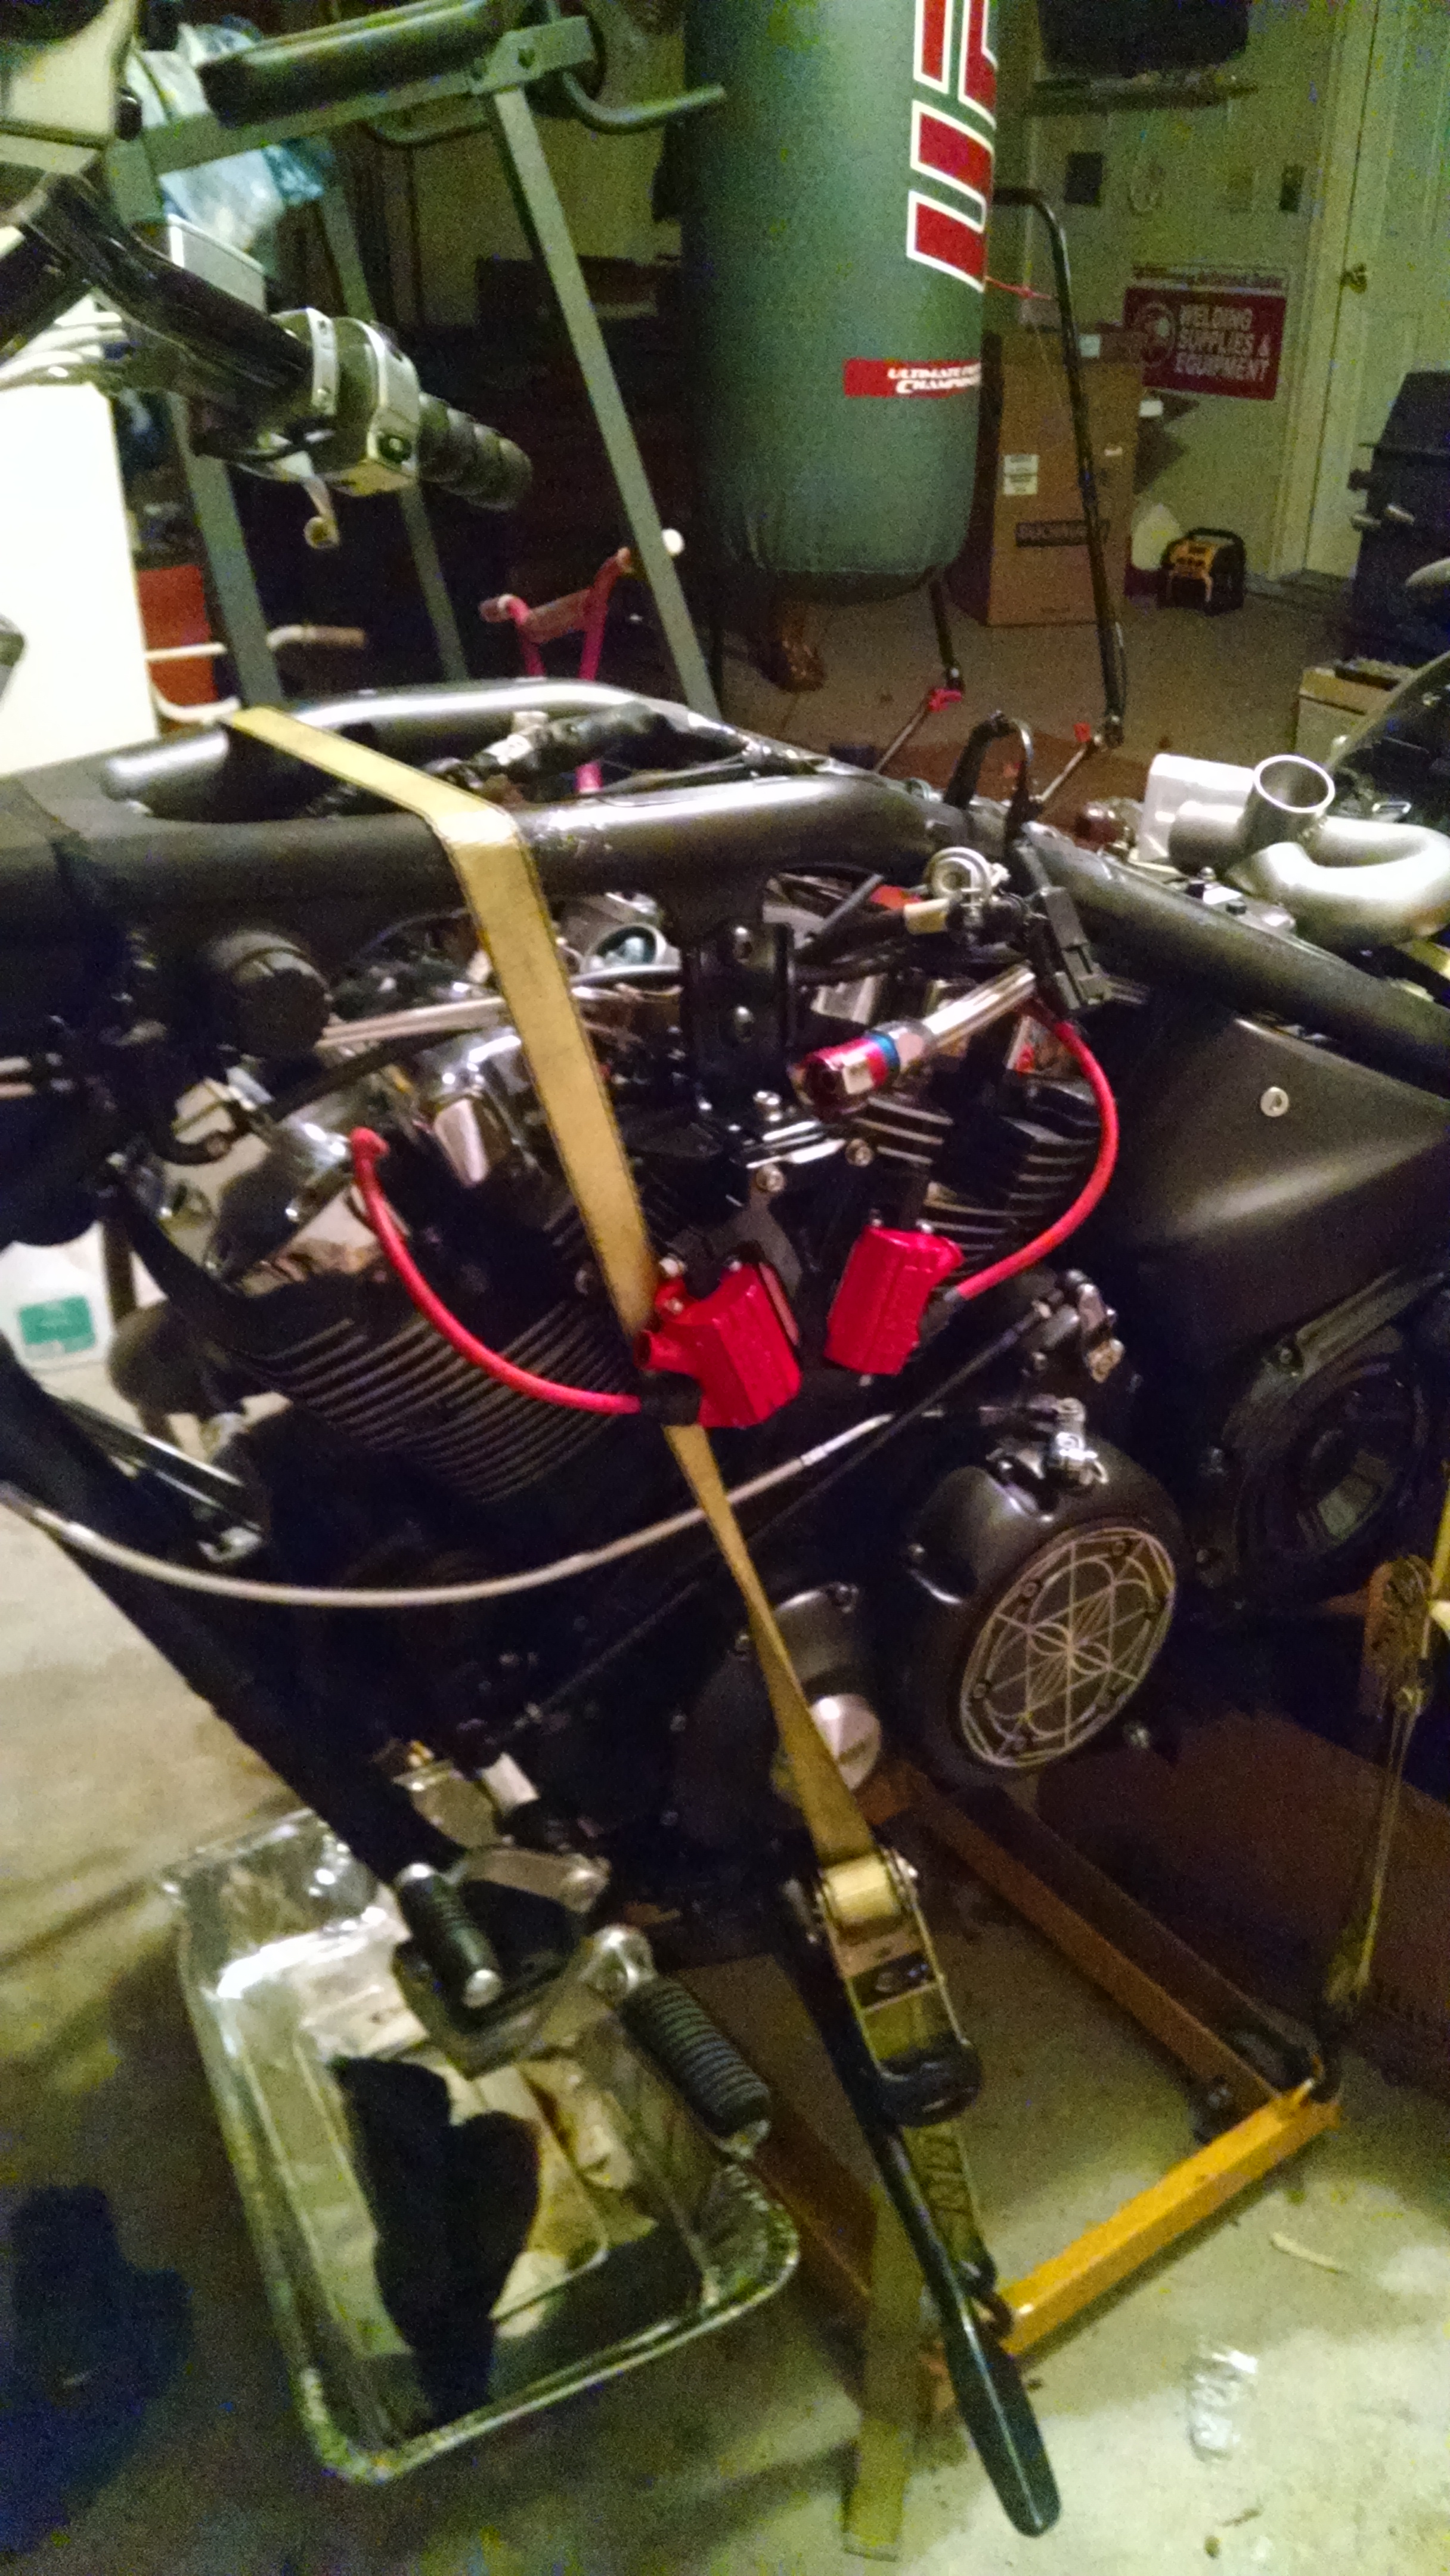
When I initially made all the modifications to the wiring and added gauges, sensors, etc., I left the wires long on purpose. I wasn’t sure if I was going to have to reroute or modify anything after running her a bit.  So, I basically coiled and zip tied as much as I could and stuffed everything under the tank and seat.  This cycle of mods was all about cleaning up the rats nest under the tank and seat.  Additionally, I needed to do something with the rectifier.  I had two options, either relocate it under the bike as others have done, or make it fit under the tank.  I went with the latter of the two.  I wasn’t concerned with any heat issues because all last summer I had it jammed under the seat without any problems. It will get plenty of fresh air in its new home.  I already had a good Dyna coil relocation place that I had purchased from a forum member, so I decided to modify that to make it work. Not the prettiest, but I think it’ll work. I also made better use of the additional space I had as a result of getting a Shorai lithium ion battery.  Finally, I got a bar mount for my Dynojet pod300.  That way I’ll be able to monitor everything and it’s much better than having it Velcro’d to the gas cap.
M

image

image

wp-1459802153008.jpg
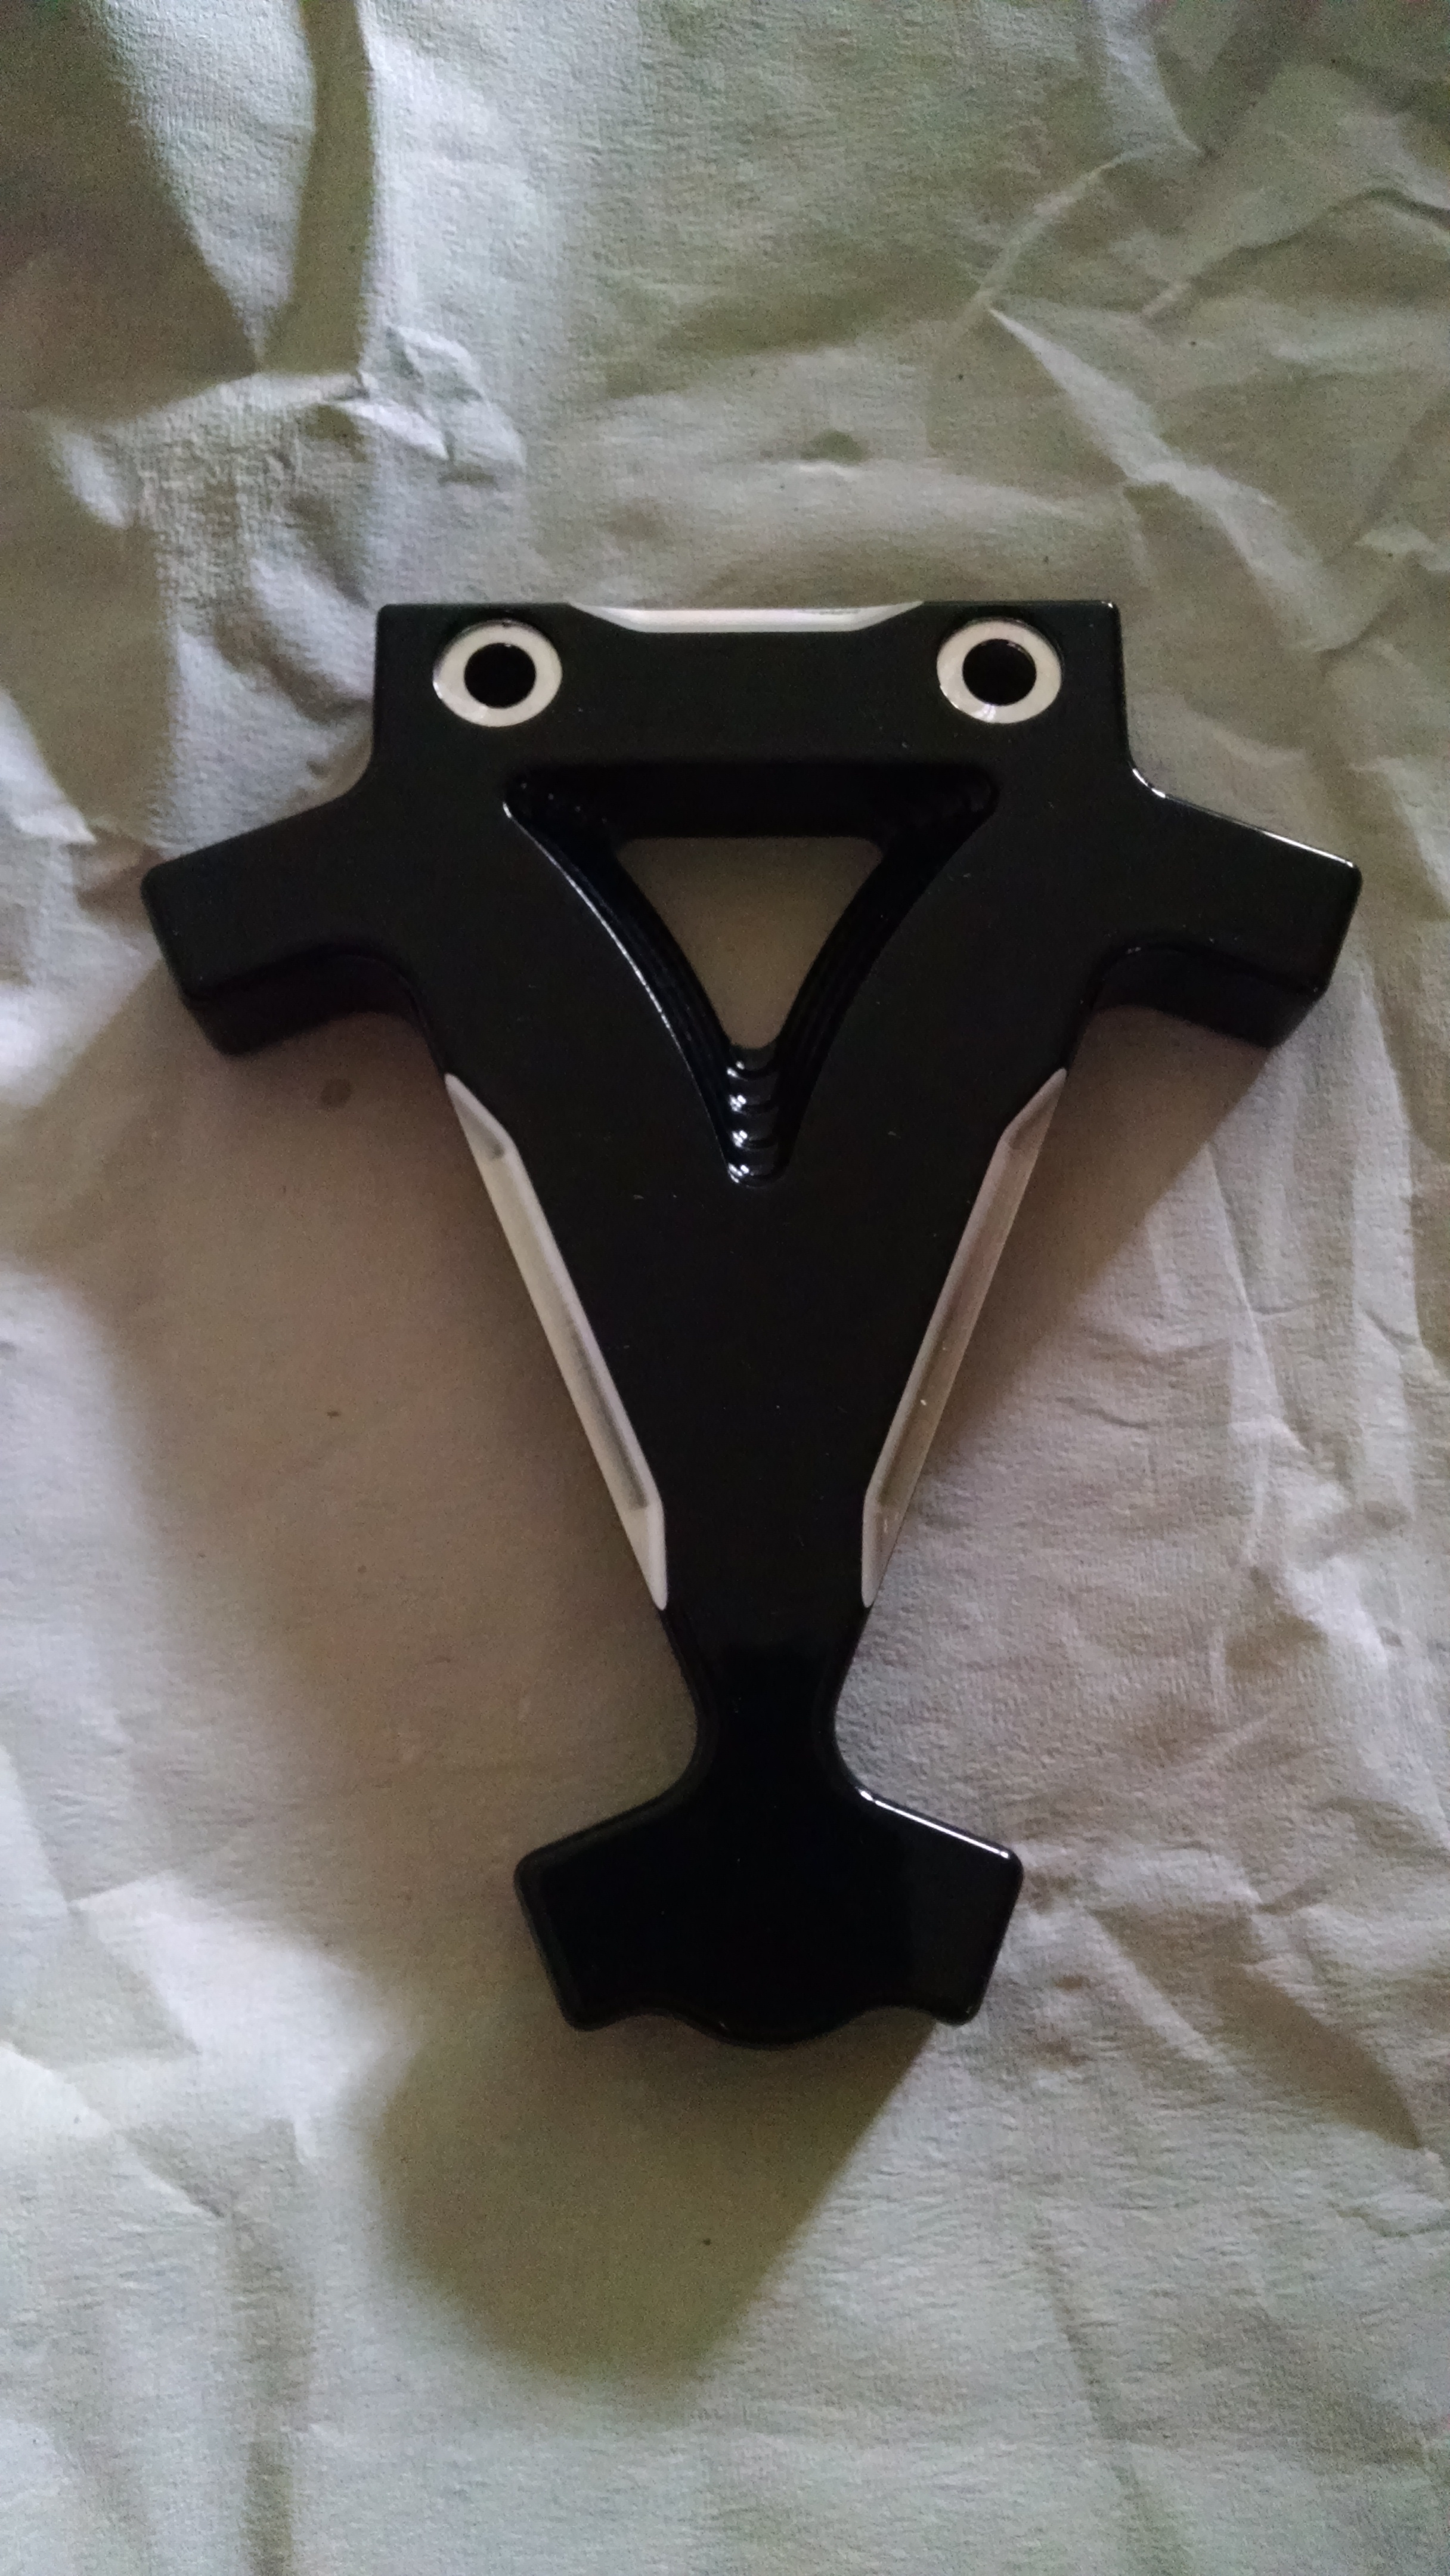
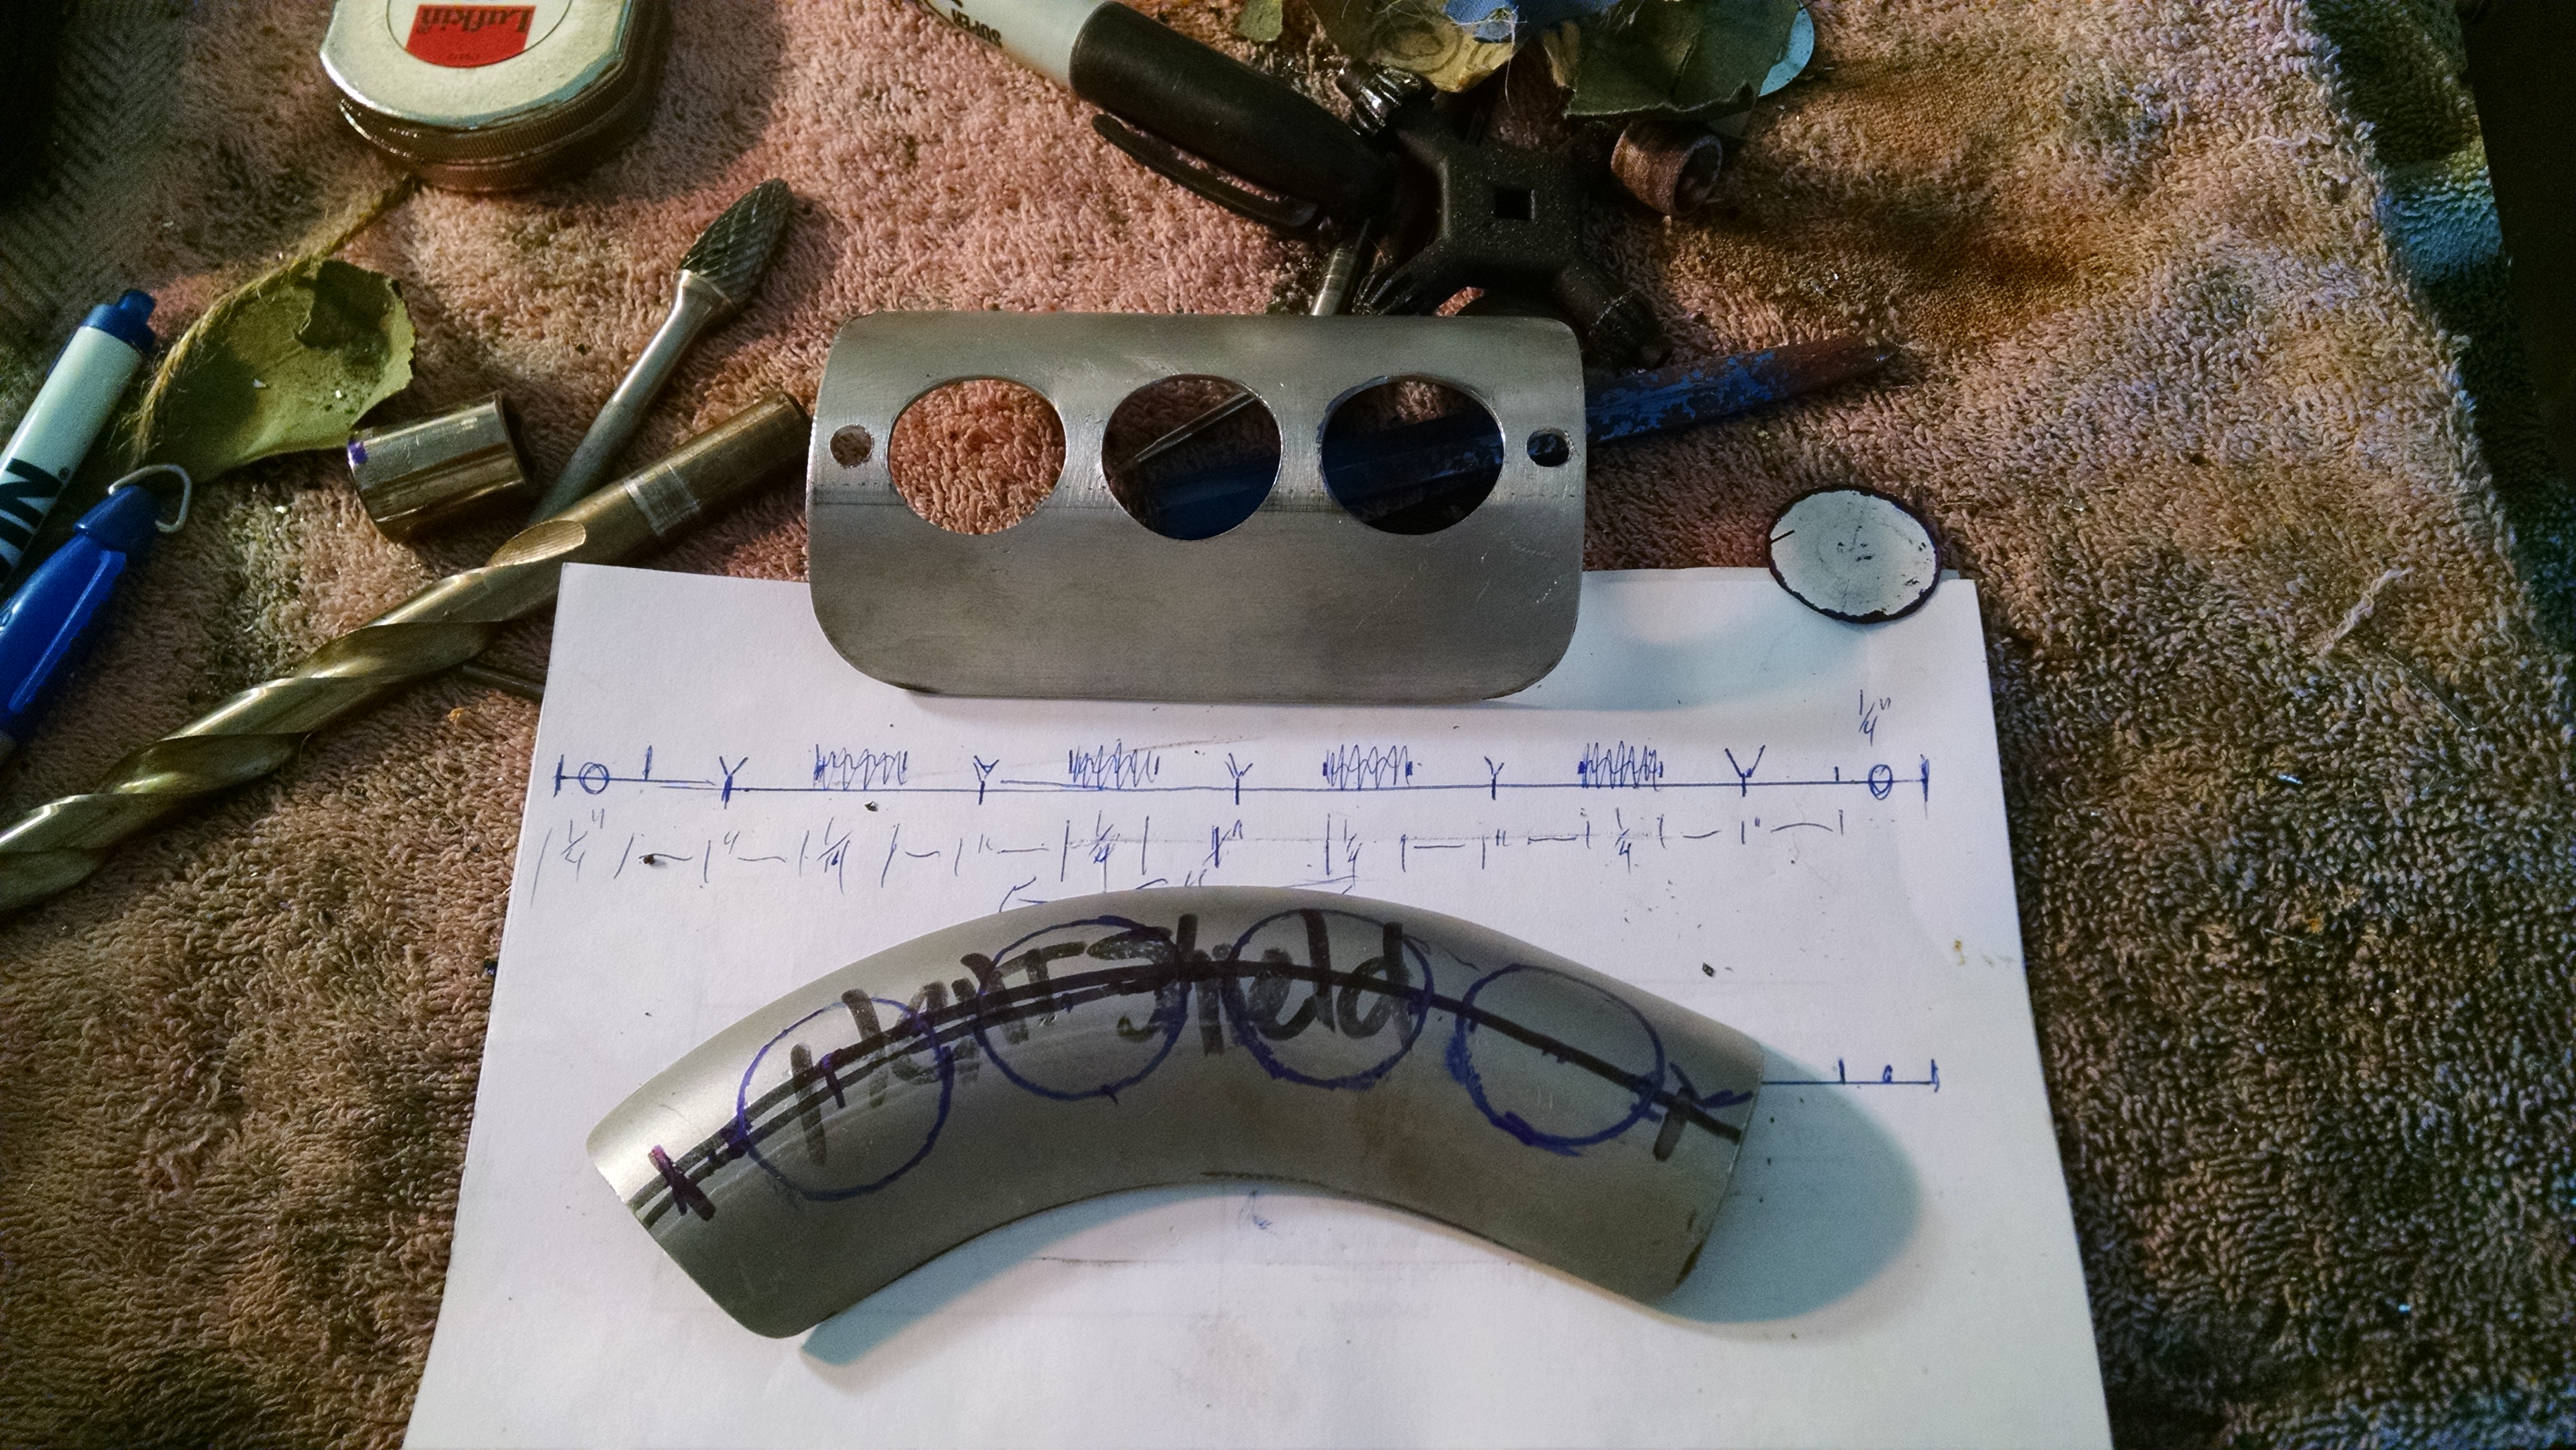
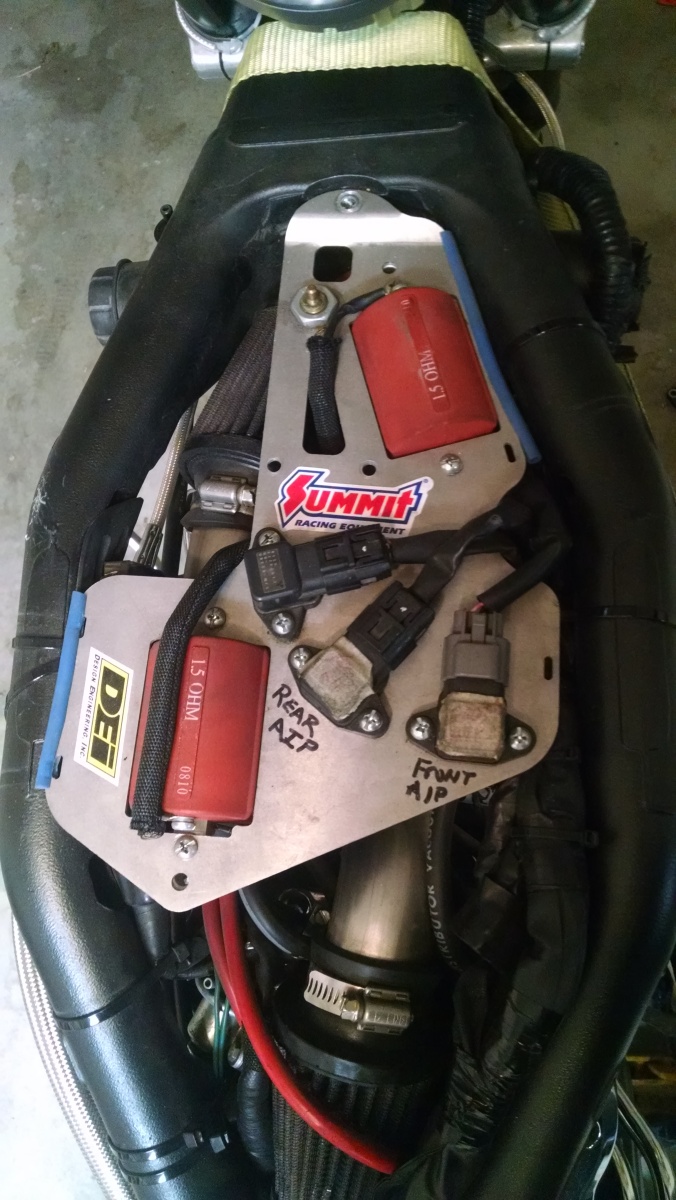
This what the plate looked like before I put the Dyna coils on the outside and did the turbo install.

Added a Thermal Zero turbo blanket

The bike is finally coming together for this year. I redid the exhaust heat shielding. The first portion of the exhaust has a layer of header wrap, then I put a strip of the silver fiberglass shielding on it (where my leg touches).  After that I wrapped a layer of header wrapping over it and then put the full length silver heat shield on the outside.  I wanted it to flow with the pipe so I made sure that the end of it was horizontal to the ground so it doesn’t look too short.  I installed the Thermal Zero turbo blanket over the turbine housing and the exhaust flange/C-clamp.  I did this to protect the paint on the under side of the tank, it sits pretty close to the underside of it.  Plus it looks pretty badass.  🙂

image

image

Preview of the new paint for the Turbo Warrior!

I was finally able to get the tins on the Turbo Warrior painted. Since the Warrior is classified as a muscle cruiser I wanted to go for a classic muscle car, hot rod type of scheme. I also didn’t want to take away from the Earl fitting accents of blue and red, the painted calipers, or the dyna coils. I thought that too much color would detract from all of that. “Subtle bling” as I like to call it.  More pics and videos to come after I get them back on the bike.

\m/

Love the way the fish scales came out.  Gonna look awesome in the sun!

Love the way the fish scales came out. Gonna look awesome in the sun!

Love the metal flake.  Gonna look awesome in the sun!

Love the metal flake. Gonna look awesome in the sun!

Love the metal flake.  Pretty sure they'll see me coming!  Gonna look awesome in the sun!

Love the metal flake. Pretty sure they’ll see me coming! Gonna look awesome in the sun!

Video of the new paint!  
https://youtu.be/BdAI4HRjI1I  

Initial Run

I got her running a few months ago.  The tune was about 90%.  She was running rich for awhile.  Here’s a short video.

I finally got her tuned on a Dyno by a professional.  I’ll try to post a video of her running now that she’s all tunes up.  It made a huge Difference!

\M/

Exhaust Fab part 3

I finally got the exhaust and headers back from being chromed and ceramic coated.  I really like the look.  Hopefully the ceramic coating and header wrap will reduce the amount of radiant heat to my leg.

Got the exhaust pipe back from being chromed and ceramic coated.

Got the exhaust pipe back from being chromed and ceramic coated.

Wrapped the header pipes.

Wrapped the header pipes.

Exhaust and headers back from getting ceramic coating.

Exhaust and headers back from getting ceramic coating.

I had the seat and rear pillion recovered.  I got the heat shields back from being chromed as well.

I had the seat and rear pillion recovered. I got the heat shields back from being chromed as well.

Finally.jpg

Got the exhaust pipe back from being chromed and ceramic coated.

Hanging the Dyna coils

Well after I got the intake pipes mostly done it was obvious that the Dyna coil relocation plate was not going to fit very easily.  So, the only clear choice was to mount my Dyna coils externally.  Darn. 😉

Got a new external dyna coil mount! Arh! Arh! AARRRHH!!

Got a new external dyna coil mount! Arh! Arh! AARRRHH!!

So, I found an external mount that I liked and went to work. First off I needed to fab up a bracket to attach the Dyna coil mount to the engine mount. I made some measurements, drew it out and started cutting!

Mounting bracket

Bracket after bending and grinding.

Bracket after bending and grinding.

Of course I had to paint the coils to look all nice and pretty if they’re going to be hanging off my bike,

Dyna coils masked and holes plugged ready to be painted.

Dyna coils masked and holes plugged ready to be painted.

Painted them with gloss black VHT paint

Painted them with gloss black VHT paint

Freshly painted Dyna coils! Used red caliper paint.

Freshly painted Dyna coils! Used red caliper paint.

 Ok, so its only got two ignition wires, for now. I had to order two more from Dynatek because the other two weren't long enough to reach them in their new location. I'll post pictures after I get her all back together.

Ok, so its only got two ignition wires, for now. I had to order two more from Dynatek because the other two weren’t long enough to reach them in their new location. I’ll post pictures after I get her all back together.

Love me some dyna coils!

Love me some dyna coils!

Left side of the bike.

Left side of the bike.

Exhaust Fab part 2

This is the second part of the exhaust fab post.  I decided to change the tip of the exhaust to go with a more “Hot Rod” look as opposed to the scalloped pointy look from before.  The heat shields were not that hard just time consuming trying to get everything how I wanted it.  I found a great article on fabbing your own. (DIY Heat Shields) The wastegate pipe ended up not lining up with the wastegate once everything was put together.   Not a huge deal but more work non the less.  Finally got it done but it had to be tack welded on the bike and then taken to get TIG welded. I dropped of the exhaust and heat shields to get the tip of the exhaust chromed and the heat shields chromed.  The exhaust will then go to be ceramic coated.  Hopefully I’ll have everything else done so that I can just connect everything once I get the pipes back.  We’ll see…..

Finally got the pipes all welded in place.

Finally got the pipes all welded in place.

The dreaded gap I was trying to avoid. Gonna have to fix this.

The dreaded gap I was trying to avoid. Gonna have to fix this.

Here you can see what it looks like as I'm shaping the tip.

Here you can see what it looks like as I’m shaping the tip.

I had to cut the pipe, grind it a little to make sure everything lined up properly. Now it's ready to be tack welded and then TIG welded.

I had to cut the pipe, grind it a little to make sure everything lined up properly. Now it’s ready to be tack welded and then TIG welded.

Checking fitment. Looks good! I think it'll work.

Just planning everything out so it will go smoothly. :)

Just planning everything out so it will go smoothly. 🙂

Not too bad of a job. They will eventually be chrome.

Not too bad of a job. They will eventually be chrome.

This is the final rendition of the exhaust and heat shields prior to getting chromed. Just the end of the pipe and the heat shields will be chromed the rest will be black ceramic.

This is the final rendition of the exhaust and heat shields prior to getting chromed. Just the end of the pipe and the heat shields will be chromed the rest will be black ceramic.


Exhaust Fab

It goes without saying that if I am fabricating the headers, etc then I’ll need to make the exhaust piping as well.  This was the easiest part so far!  I like the way it’s turned out.  I started out with the V-band exhaust flange and had my friend weld it to the turbine exhaust flange that I found online that would work for an external wastegate.  It basically blocked off the internal wastegate port.  I still had it welded shut regardless.  I put the wastegate on the rear header pipe.  The wastegate blow off pipe will tap right into the exhaust. In a perfect world I would have the waste pipe coming right off of the split where the two headers meet.  This should work though.

V-Band on exhaust flange

Having to cut off the ends of the bolts to get everything to fit.

Having to cut off the ends of the bolts to get everything to fit.

Starting to fab up the exhaust. Little bit at a time.

Starting to fab up the exhaust. Little bit at a time.


Just got the pipes positioned for a quick mock up. Now to take them and have them welded!

Just got the pipes positioned for a quick mock up. Now to take them and have them welded!


Throttle Body/Intake Piping

This part was the second most PITA part of this project to date.  Pretty much just cut, ground, welded, ground some more, etc.  It was just painstaking to get the pieces somewhere close.

2" mandrel bend pipe for the TB's.

2″ mandrel bend pipe for the TB’s.

Getting there!

Getting there!

Getting there!

Getting there!

Fabbing the TB piping.

Fabbing the TB piping.

Rough version of the throttle body piping. Never claimed to be a welder!

Rough version of the throttle body piping. Never claimed to be a welder!

Rough version of the throttle body piping.

Rough version of the throttle body piping.

Gonna have to hang the Dyna coils on the outside of the bike. Darn. ;)

Gonna have to hang the Dyna coils on the outside of the bike. Darn. 😉

Houston we have a problem…..

Got some silicone couplers. 2" to 1.5" I think. Cut them down.

Got some silicone couplers. 2″ to 1.5″ I think. Cut them down.

Got the intake piping back from the welder.

Intake piping

Trying to get the two pipes to eventually meet. Piping coming of the compressor housing to the TB piping I already have fabbed up.

Trying to get the two pipes to eventually meet. Piping coming of the compressor housing to the TB piping I already have fabbed up.

Grinding out the rough stuff after my friend welded her up!

Grinding out the rough stuff after my friend welded her up!

Painted the TB intake pipes with flat black paint.

Painted the TB intake pipes with flat black paint.

Wrapped the intake pipes with heat reflecting tape. Mainly to cover up the crappy welds from me piecing together the pipes. Possibly will help with reflecting heat as well.

Wrapped the intake pipes with heat reflecting tape. Mainly to cover up the crappy welds from me piecing together the pipes. Possibly will help with reflecting heat as well.

Got the TB piping installed. Used hose clamps and silicon hose to get it together.

Got the TB piping installed. Used hose clamps and silicon hose to get it together.